OMTech 80W Laser Cutter

Last updated: June 13, 2023

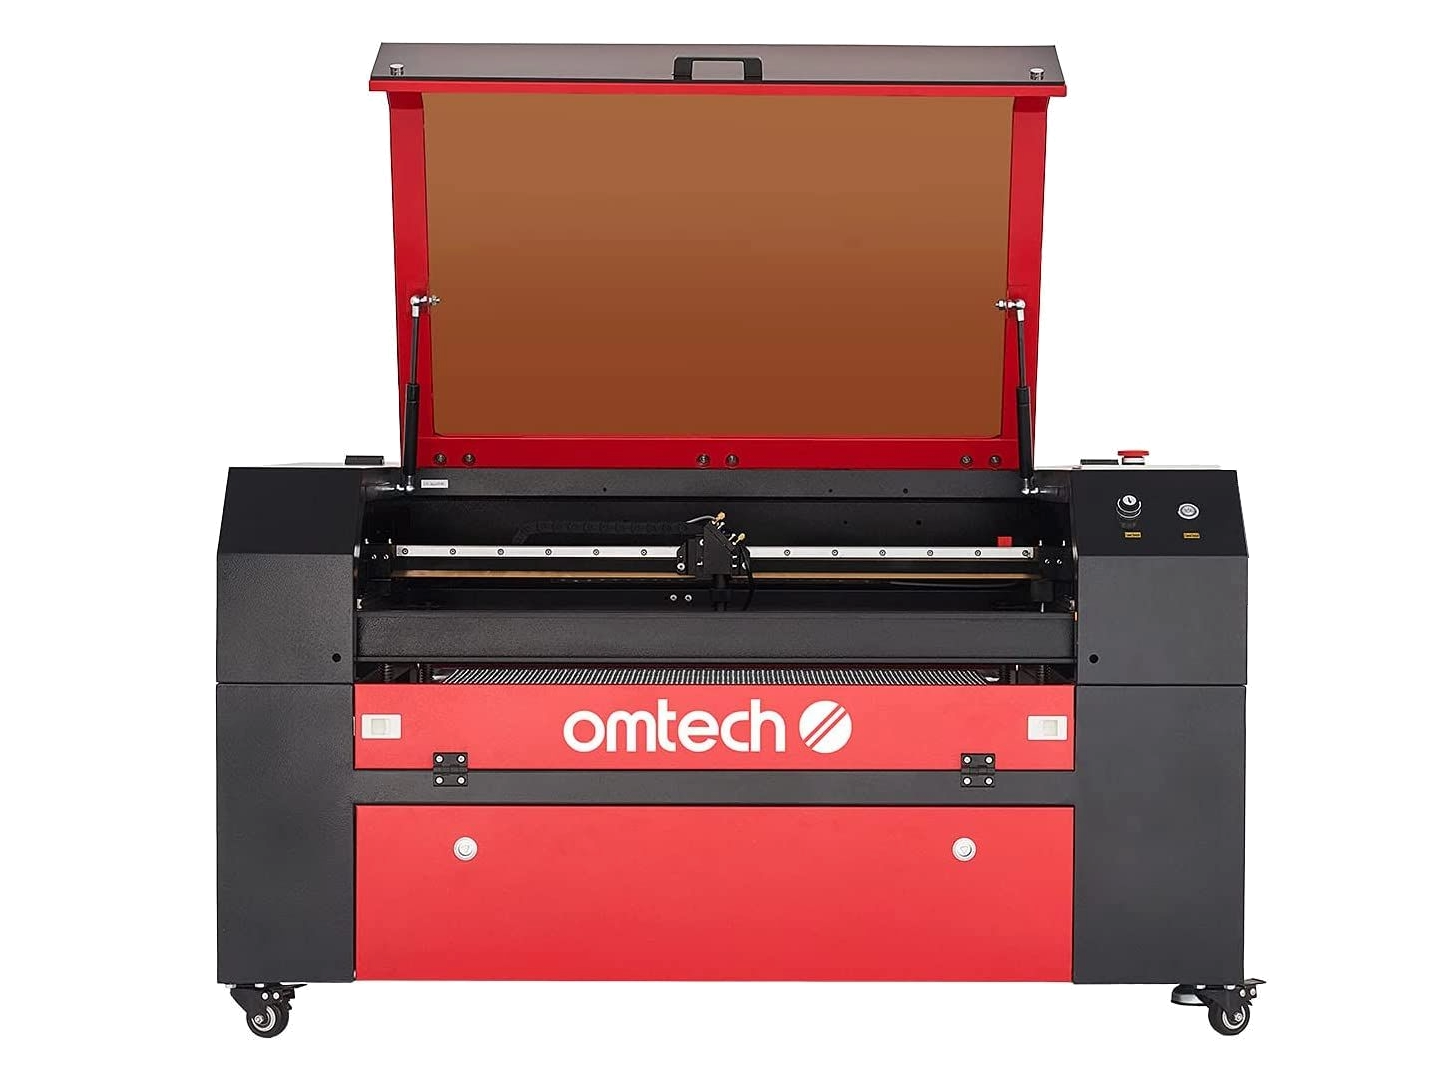
The OMTech 80W Laser Cutter uses a laser beam to cut and engrave various materials such as wood, plastic, leather, and paper. This machine is commonly used for crafting, sign making, and customizing a wide range of products.

Risks

  • Laser radiation risk: The laser beam emitted by the laser cutter is a Class 4 laser and can cause eye damage or skin burns if not used properly.
  • Fire risk: The laser beam can ignite materials being cut or surrounding objects if they are flammable. Do NOT leave the laser unattended while it is engraving or cutting!
  • Electrical hazard: The laser cutter has high voltage and high current electrical components that can cause electrical shock or start a fire.

Glossary

OMTech 80W Laser Cutter Parts

  1. Laser tube - CO2-filled glass tube used to produce a high-power, invisible laser.
  2. Laser head - holds the 3rd mirror, the focus lens, the red dot guidance, and the air assist outlet.
  3. Focus lens - focuses the laser beam to a small point to cut or engrave materials.
  4. Air assist - blows pressurized air to kill sparks and blow away gas and debris as you engrave
  5. Control panel - allows for adjusting laser power, speed, and other settings.
  6. Water chiller - cools the laser head to prevent overheating.
  7. Exhaust fan - removes fumes and smoke generated during the cutting or engraving process.
  8. Workbed - holds the material being cut or engraved in place.
  9. X-Axis rail - allows the laser head to move left and right.
  10. Y-Axis rail - allows the laser head to move up and down.
  11. Z-Axis screw - allows for adjusting the focus distance of the laser beam.
  12. Emergency stop button - quickly cuts all power to the laser tube in case of an emergency.
  13. Power switch - turns the laser cutter on and off.
  14. Laser safety goggles - must be worn when operating the laser cutter to protect your eyes from the laser beam.
  15. Fire extinguisher - should be nearby in case of a fire.

Materials

The laser cutter can be used to cut and engrave a variety of materials, including:

  • Wood including Cork, MDF, Plywood, Balsa, Birch, Cherry, Oak, Poplar, etc.
  • Plastics: Notably acrylic, plexiglass, PETG, and ABS.
  • Cardboard
  • Ceramics, including dishes and tile.
  • Glass
  • Leather (e.g. wallets, cases)
  • Rubber
  • Stone including marble & granite

Do NOT cut or engrave metals due to conductivity and reflectivity. Note: It is possible to remove certain pain or annodized coatings from some metals, and some metals can be marked with laser marking sprays such as CerMark (Molybdenum disulfide) that leaves behind a black mark when heated with the laser.

Do NOT cut or engrave the following materials due to toxic fumes: artificial leather, astatine, beryllium oxide, bromine, chlorine (including PVB, PVC, Vinyl, Cintra), fluorine (Teflon, PTFE, etc.), iodine, phenolic resins (including Epoxy), nor polycarbonate (PC, Lexan, etc.) For other materials, consult the material safety data sheet (MSDS) regarding safety, toxicity, corrosiveness, reflectivity, and reactions to high heat. Discuss any material uncertainties with makerspace staff.
Procedures

Cutting or engraving a design

  1. Load, import, or create your design in LightBurn.
    • The PC connected to the laser has Lightburn installed.
    • Lightburn supports importing lots of image (e.g. .jpeg, .png) and vector (e.g. .svg, .ai) file types
    • You can make your own designs with programs like Adobe Illustrator or InkScape (free).
  2. Assign objects in Lightburn to different layers (colors) as needed
    • Each layer gets its own power and speed settings
    • Layers that cut around other cuts or engravings should be last (since the cut out may shift slightly)
    • Set the speed and power using available material guides
  3. Turn on the laser, water chiller, and exhaust fan.
  4. Place your workpiece on the workbed. Note that the origin is near the top-right corner. Adjust the workbed height as necessary with the manual adjustment knob.
  5. Focus the laser. Jog the laser to a position above the material is under the laser, and adjust the workbed height using the Laser Focus Guide. (For the current lens, that is 16mm between the laser head and the material. The focal distance is determined by a ramp test.)
  6. From Lightburn, use the Trace button to have it move the laser head around the cut or engraving perimeter without powering the laser. Re-align the material as needed.
  7. Close the cover, and ensure the water chiller and exhaust are both running.
  8. Click "Start" in lightburn
  9. Monitor the progress of the laser.
    • Do NOT leave the laser unattended while cutting or engraving.
    • If a flame appears on your material, press the emergency stop button. If the flame does not go out immediately after the emergency stop, extinguish with the nearby fire blanket or fire extinguisher.
  10. Once the cut/engrave is complete, turn off the laser cutter. Allow a few seconds for fumes to continue exhausting before opening the cover.
  11. Remove the material from the laser cutter bed and clean up any residue

References

Specs

Cutting area
20" x 28"
Max cutting depth
0.39" (plywood or acrylic)
Max power
80W
Supported materials
Wood, paper, plastics, leather, fabric, stone, glass, ceramics, rubber, and some other nonmetallic materials