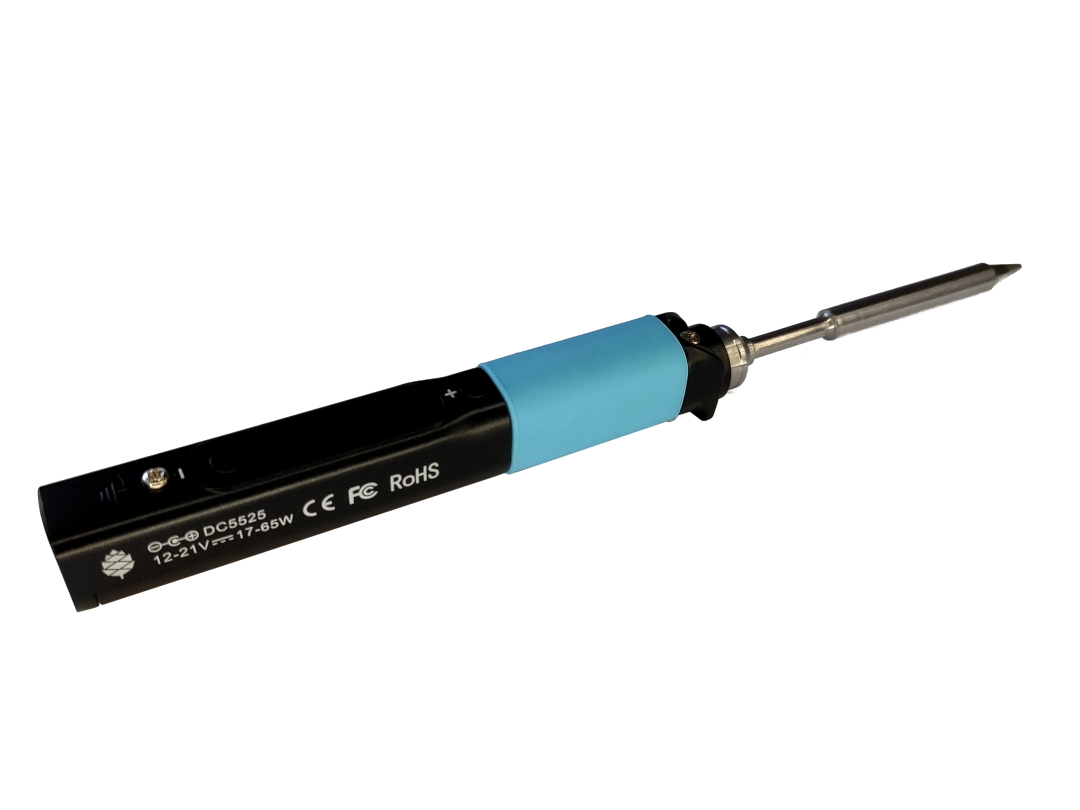
Overview
The Pinecil is a portable and lightweight soldering iron designed for precision soldering of electronic components. It features fast heat-up time and temperature control for a wide range of soldering applications.
Risks
- Burn Risk: The soldering tip can reach high temperatures.
- Fume Hazard: Melting solder releases hazardous fumes (which vary based on type of solder).
- Lead Exposure Risk: Lead-based solders carry additional health risks.
Safety Precautions
- Ensure the soldering iron is placed on the stand and is stable at rest when not in use.
- Keep the work area well-ventilated to prevent inhaling solder fumes.
- Unplug the solder iron when not in use or during maintenance.
- Avoid touching the solder iron tip, solder near the tip, and components near the tip during operation and cooldown.
- If you are using lead-based solder, research the risks. Avoid eating or drinking while working with lead solder. Wash your hands and the work area after soldering.
Glossary
- Solder: A metal alloy with a low melting point used to join together metal components. It typically consists of a mixture of tin and lead or other metals.
- Soldering Tip: The replaceable tip at the end of the soldering iron used for transferring heat to solder joints.
- Tinning: The process of coating the surface of a soldering tip with a thin layer of solder. Tinning helps improve heat transfer and prevents oxidation of the tip (ensuring the tip lasts longer).
- Flux: A substance used to clean and improve the wetting of solder joints.
- Flux Core: A type of solder wire with a hollow core filled with flux. Flux is a chemical compound that cleans and prepares the surfaces to be soldered, helping the solder flow and adhere better to the joints. Flux core solder eliminates the need for separate flux application during soldering.
Procedures
Failure to maintain a properly tinned soldering iron tip will ruin the tip much faster (via oxidation). If the tip isn't shiny, you should be re-tinning it.
Operating the Pinecil
- Plug in the Pinecil
- From the home screen:
- Use (-) to enter the settings menu
- Use (+) to start heating up the solder iron
- From the settings menu:
- Use (-) to change the menu settings (eventually loops back to the home screen)
- Use (+) to enter a submenu or change the setting
- When the iron is heating:
- Use (-) and (+) to change the temperature
- Long press (+) to boost the temperature
- Long press (-) to put the iron in stand-by mode
Soldering
- Connect the Pinecil soldering iron to a power source and wait for it to heat up to the desired temperature.
- Clean the soldering tip using a damp sponge or brass wire cleaner to remove any residue.
- Tin the tip by applying a small amount of solder or tinner to the tip to ensure good heat transfer.
- Place the component to be soldered on the PCB and hold it in place with tweezers or a third hand tool.
- Touch the soldering tip to the solder pad and component lead simultaneously, creating a solder joint.
- Remove the soldering iron and hold the joint still until the solder cools and solidifies.
- Inspect the solder joint for any defects, and rework if necessary.
Desoldering
- Connect the Pinecil soldering iron to a power source and wait for it to heat up to the desired temperature.
- Clean the soldering tip using a damp sponge or brass wire cleaner to remove any residue.
- Tin the tip by applying a small amount of solder or tinner to the tip to ensure good heat transfer.
- Apply a small amount of fresh solder to the solder joint you want to remove.
- Touch the soldering iron to the joint to heat the solder until it becomes liquid.
- Use a desoldering pump or desoldering wick to remove the molten solder from the joint.
- Repeat the process if necessary until the joint is free from solder.
- Remove the component gently from the PCB once the solder is removed.
References
