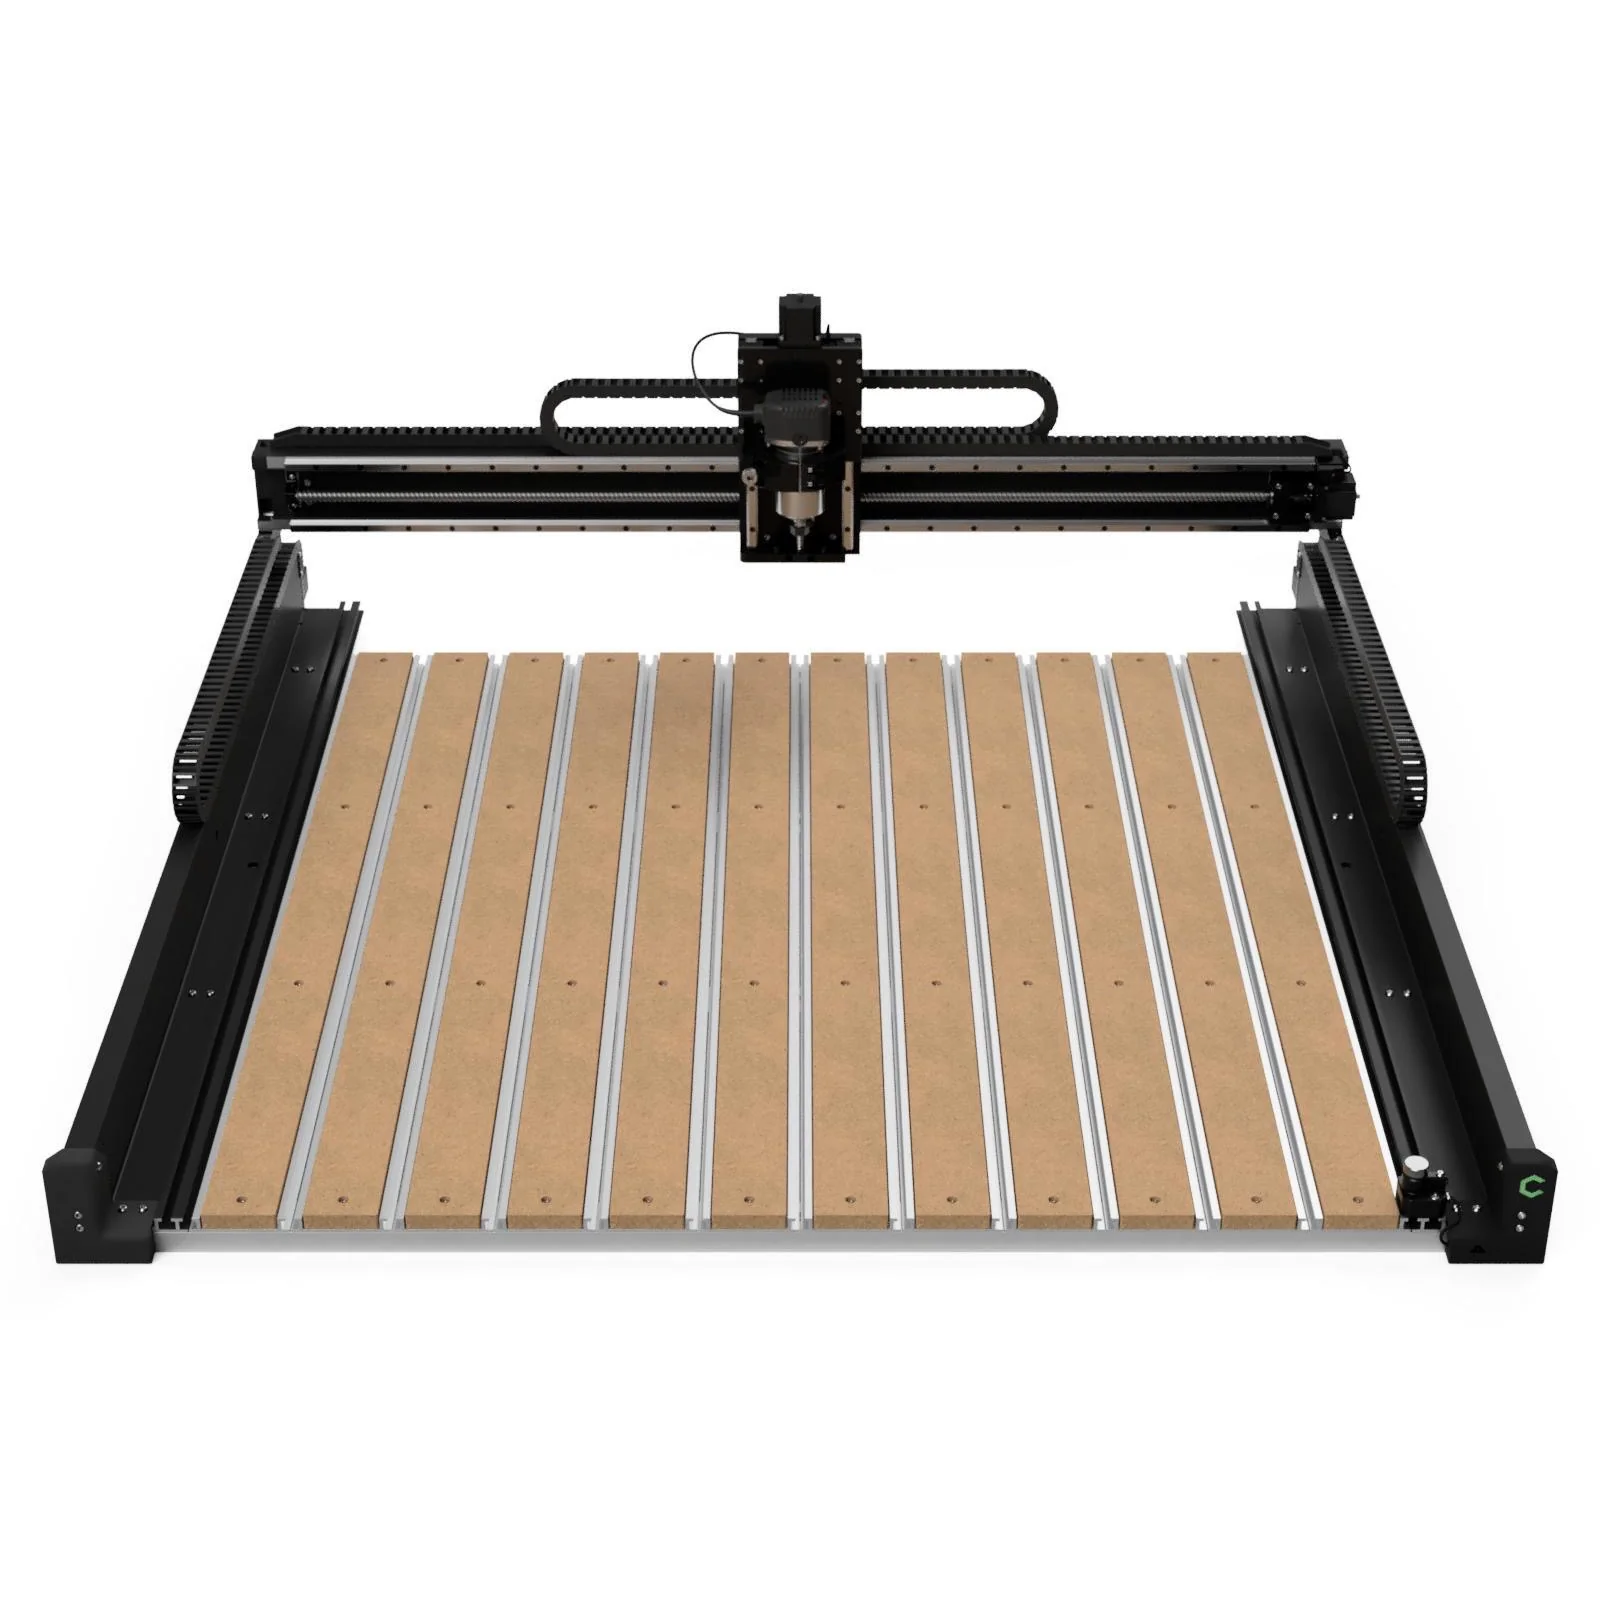
Shapeoko 5 CNC Router

Last updated: July 25, 2023

The Shapeoko 5 CNC Router is a versatile and precise tool used for computer-controlled cutting and carving of various materials.

Risks

  • Risk of injury due to moving parts, sharp cutting tools, or material ejection.
  • Electrical hazards from the power source and components.
  • Possibility of damaging the machine or workpiece due to incorrect setup or operation.

Glossary

  • CNC Router: A computer numerical control machine that uses rotating cutting tools to remove material from a workpiece.
  • G-Code: A programming language used to control CNC machines, specifying toolpaths and operations.

Materials

The materials supported is determined primarily by the limitations of a specific endmill or router bit. In general, the router can be used with:

  • All types of wood
  • Most plastics (ABS, Acrylic, Polycarbonate, Delrin, HDPE, PEEK, PVC)
  • Some alloys of aluminum, brass, and copper

Procedures

Material Preparation and Workholding

  1. Measure your material dimensions. Ensure your thickness measures are precise (and check for variances in thickness at different parts of your material).
  2. Fasten your material securely to the CNC Router's bed.

Generating Toolpaths and G-code

  1. Create a new project in Carbide Create using your material measurements. Take note of the origin point (circle symbol, usually the lower left corner).
  2. Create or import your design.
  3. Add tabs as necessary to through cuts that could cause the piece to move during the cut.
  4. Generate toolpaths for each layer of your design
    1. Choose a toolpath type (e.g. Contour, Pocket, VCarve)
    2. Choose a tool, setting the cutting parameters, such as feed rates, plunge rates (recommend using the default for the tool)
    3. Set the cutting depth
    4. Order your cuts: through cuts are usually last, and order them to minimize tool changes.
  5. View the simulation and ensure it matches your expectations
  6. Generate the G-code in Carbide Create and save it.

Initializing CNC Router for Cutting

  1. Power on the CNC router (both the main power and the controller box)
  2. Ensure the workbed is clear of body parts, clothing, or other objects that could get in the way of the moving parts
  3. Open Carbide Motion and connect to the router
  4. Choose Initialize Router. This will move the router head and measure the current bit
  5. Leaving the bit at least an inch above the workpiece, use the Jog controls to move it to the origin point from your design (usually the bottom left corner)
  6. Align the center of the bit with the corner of your workpiece. Adjust the "step" to move the router in smaller increments. Also use the Z control buttons to lower the router bit until it barely touches your workpiece. As a guide, it is useful to place a piece of paper on the material, and stop adjusting the Z as soon as you can't move the paper freely.
  7. Click "Zero All". This is now the zero point that will match the origin from your design.
  8. Use Z+ to move the bit away from the material again

CNC Router Operation

  1. Load the saved G-code into Carbide Motion
  2. Click Start.
  3. When prompted, insert the tool (bit or endmill) requested. After inserting a new tool and clicking continue, the CNC Router will re-measure the tool so you don't have to re-zero the Z axis.
  4. When prompted to turn on the router, turn on both the router and the shop vacuum for dust collection. Then press continue, and the cutting will start. If your toolpath contained tool changes, Carbide Motion will prompt you to turn off the router, change the tool, and turn it back on when needed.

Do NOT leave the CNC router unattended while running. You may pause the cutting in the Carbide Create software if you must step away for a moment.

Keep your body and clothing clear of the workspace, and keep the workbed free of other obstructions.

Press the Emergency Stop button if you need to immediately power down the entire machine.
Finishing

  1. When the cutting is complete, Carbide Motion will prompt you to turn off the router. Once confirmed, it will move the router to the back corner.
  2. Once the moving parts come to a stop, you can remove your material.
  3. Turn the machine and controller off.

References

Specs

Cutting area
48" x 48" x 4"
Supported materials
All types of wood, most plastics, and some alloys of aluminum, brass, and copper